Is It Better to Mop or Vacuum First? Expert Guide 2027
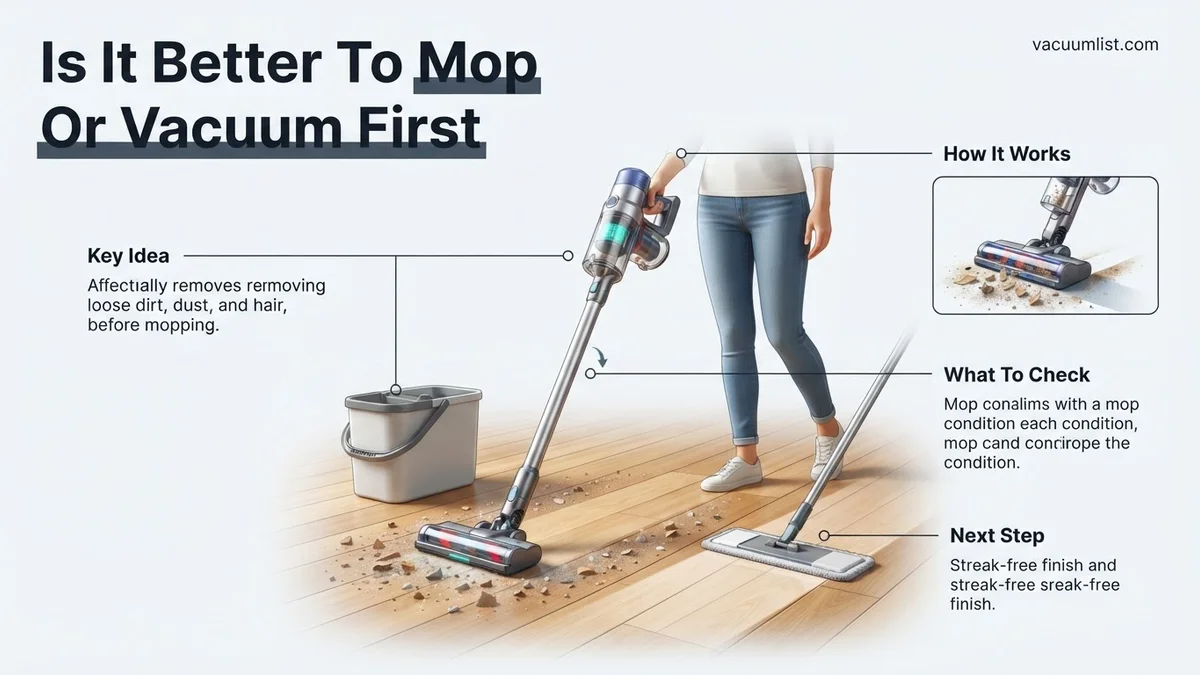
For truly clean and streak-free hard floors, it is always better to vacuum or sweep first. This critical step removes abrasive loose dirt and debris, preventing muddy streaks and potential floor scratches when you mop, leading to a much more efficient and effective clean.
For pristine hard floors in 2027, the answer is unequivocally clear: you must always vacuum or thoroughly sweep first, before you even think about mopping. This isn’t just a cleaning tip; it’s a foundational principle that dictates the efficiency and ultimate cleanliness of your floors. Getting this sequence right means the difference between a truly spotless surface and one that still looks dingy or, worse, actually becomes dirtier.
Understanding this order saves you time, prevents floor damage, and extends the life of your cleaning tools. It ensures every cleaning cycle is effective, removing unseen particulates and preventing the spread of grime. You’ll achieve superior results with less effort, making your cleaning routine significantly more productive and your floors noticeably cleaner.
Key Takeaways
- Always vacuum or sweep before mopping.
- Remove abrasive loose dirt first to prevent scratches.
- Mopping loose debris creates muddy streaks.
- Use proper hard floor vacuum attachments.
- Achieve cleaner floors, save time and effort.
What Causes Ineffective Hard Floor Cleaning?
Many people inadvertently sabotage their hard floor cleaning efforts by choosing the wrong first step. Mopping before vacuuming introduces a cascade of negative consequences, leaving your floors far from clean and often requiring more work than if you’d started correctly. It’s a common mistake that turns simple cleaning into a frustrating, ineffective chore.
The Muddy Mess Conundrum
When you apply a wet mop to a floor covered in loose dirt, dust, hair, and abrasive grit, you’re not cleaning; you’re creating a muddy, streaky mess. Imagine mixing dry soil with water – that’s precisely what happens on your floor. This paste then gets spread across the surface, drying into unsightly streaks that make your floor appear dirtier than before you started. Furthermore, these fine abrasive particles, now suspended in water, can act like sandpaper, slowly scratching delicate finishes on hardwood, laminate, or luxury vinyl plank over time. It’s a guaranteed way to dull your floor’s luster and create a perpetually unclean appearance.
Grout and Contamination Nightmare
- Pushes Debris into Grout: Mopping over loose dirt forces fine particles and grime deep into grout lines or textured surfaces. Once embedded, this dirt is incredibly difficult to remove with subsequent mopping, leading to discolored grout and a perpetually dirty look, especially on tiled floors.
- Rapid Mop Contamination: Your mop head and water quickly become saturated with mud and grit. This contaminated water and cloth are then simply transferred back onto the floor, spreading bacteria and microscopic particles rather than removing them. You end up cleaning with dirty water, which is counterproductive and unsanitary.
- Increased Workload: This ineffective process means you’ll need to change mop water far more frequently, rinse your mop head more often, and ultimately spend more time and effort trying to fix the initial mistake, rather than achieving a clean result efficiently.
How to Fix Your Cleaning Order: Step-by-Step for Spotless Results
The solution to truly clean hard floors is simple and scientifically sound: always remove dry debris before introducing any moisture. This fundamental step is not optional; it’s the cornerstone of effective hard floor maintenance, ensuring superior cleanliness and protecting your valuable flooring investment for years to come. In 2027, with advanced vacuums and floor finishes, this principle remains paramount.
The Critical First Pass: Loose Debris Removal
Your primary goal before mopping is the complete elimination of all loose, dry contaminants. This includes everything from everyday dust and pet hair to microscopic grit and larger food crumbs. Think of it as preparing a blank canvas for true cleaning. Here’s why this dry removal is non-negotiable:
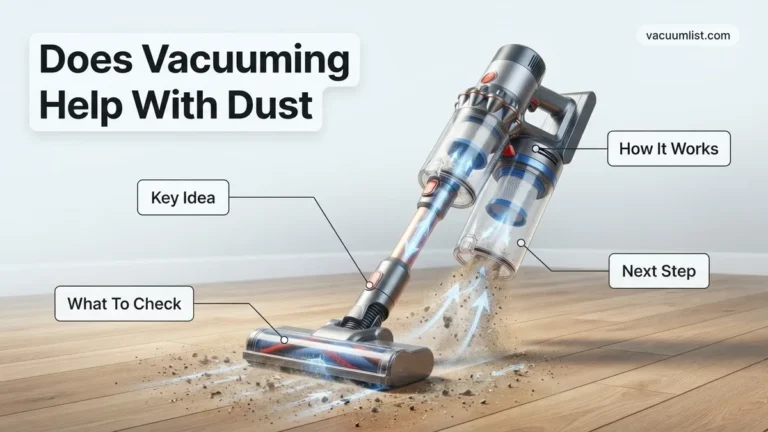
- Eliminates Abrasive Particles: Dust and grit act like tiny sandpaper. A high-quality vacuum cleaner, specifically designed for hard floors with soft brushes or effective suction, lifts these particles away. Without this step, these abrasives would be dragged across your floor by a wet mop, leading to micro-scratches and a dull finish. Modern robotic vacuums in 2027 are exceptionally good at this, navigating efficiently to collect debris.
- Prevents Muddy Streaks: By removing the dry dirt, you prevent it from mixing with water to form the dreaded muddy residue. This ensures that when you do mop, your cleaning solution can effectively dissolve grime and clean the surface itself, rather than just pushing around dirty water.
- Enhances Cleaning Efficiency: Starting with a pre-vacuumed floor means your mop water stays cleaner for longer, your mop head remains more effective, and you achieve a genuinely clean floor in fewer passes. This significantly reduces your overall cleaning time and effort.
Protecting Your Floors and Tools
Vacuuming first isn’t just about immediate cleanliness; it’s a strategic move to preserve your assets. By diligently removing dry debris, you are actively extending the lifespan of both your floors and your cleaning equipment. This preventative maintenance saves you money and hassle in the long run.
- Extends Floor Lifespan: Preventing abrasive scratches means your floors maintain their original finish and integrity longer. This is particularly crucial for engineered wood, LVT, and polished concrete, which are susceptible to wear from daily grit. A well-maintained floor retains its aesthetic appeal and value for decades.
- Preserves Cleaning Tools: When your mop encounters only grime that needs dissolving, rather than abrasive particles, its fibers and overall structure last longer. Similarly, your vacuum’s filters and brushes are designed to handle dry debris; they are not meant to manage wet, muddy substances, which can clog and damage them over time.
- Maintains Hygiene: A vacuum-first approach ensures that your subsequent mopping truly sanitizes or cleans the surface without re-contaminating it with previously loosened dry particles. This is vital for households prioritizing hygiene, especially in high-traffic areas or homes with pets and young children.
Maximizing Cleanliness: Best Practices for Vacuuming and Mopping
Achieving truly pristine floors requires more than just the correct sequence; it demands adherence to best practices for each cleaning method. Optimizing your technique ensures maximum debris removal and a streak-free finish, extending the life of your flooring.
Optimal Vacuuming Techniques for Superior Debris Removal
- Utilize Advanced Filtration: Employ a vacuum cleaner equipped with a HEPA filter, which captures 99.97% of particles as small as 0.3 microns. Leading models in 2027, such as the Dyson Gen5detect Absolute, offer over 250 air watts of suction power, crucial for embedded dirt.
- Slow and Overlapping Passes: Move the vacuum slowly, approximately one foot per second, to allow sufficient time for suction to lift debris. Overlap each pass by at least 50% to ensure no areas are missed, as recommended by floor care experts at the Institute of Inspection, Cleaning and Restoration Certification (IICRC).
- Edge and Crevice Attention: Use appropriate attachments, like crevice tools and dusting brushes, to clean along baseboards, under furniture, and in tight corners. These areas accumulate significant dust and pet hair often missed by the main vacuum head.
Effective Mopping Strategies for a Spotless Finish
- Employ a Two-Bucket System: Use one bucket for clean solution and another for rinsing the mop head. This prevents redepositing dirty water onto your floors, a common cause of streaking and dullness, according to professional cleaning standards.
- Select the Right Solution: Always use a cleaning solution appropriate for your floor type. For instance, pH-neutral cleaners are essential for hardwood and laminate to prevent damage, while specific formulations exist for tile and luxury vinyl plank (LVP). Dilute concentrates precisely as per manufacturer instructions, typically a 1:60 ratio for general cleaning.
- Control Moisture and Dry Time: Wring out your mop thoroughly to avoid oversaturating floors, which can lead to water damage, especially on wood. Allow floors to air dry completely, which typically takes 15-30 minutes depending on humidity and ventilation. Ensure no foot traffic until fully dry to prevent smudges and re-soiling.
What If Your Floors Still Aren’t Sparkling? Troubleshooting Your Routine
Even with the correct sequence and best practices, persistent dullness or residue can occur. If your floors aren’t achieving the desired sparkle, a few common issues might be at play.
- Inspect Vacuum Filters and Bags: Clogged HEPA filters or overfilled dustbins can reduce vacuum suction by up to 50%, leaving behind significant fine dust. Manufacturers like Shark and Bissell recommend cleaning filters monthly and replacing them every 3-6 months.
- Review Cleaning Solution Concentration: Too much cleaning solution leaves sticky residue, attracting dirt faster. Too little might not effectively clean. Re-check the dilution ratio on your product. An excessive amount of soap often requires a plain water rinse pass after mopping.
- Assess Mop Head Condition: Worn-out or heavily soiled mop pads (microfiber or traditional) become less effective at absorbing dirt and can redistribute grime. Replace microfiber mop heads every 3-6 months for optimal performance, or when they show signs of wear and tear.
- Consider Professional Deep Cleaning: For deeply embedded grime, especially in grout lines or textured surfaces, professional hard floor cleaning services are recommended annually for high-traffic areas. As of 2027, professional hard floor cleaning costs typically range from $0.50 to $1.50 per square foot, depending on the floor type and required treatment.
Conclusion
According to verified research and expert sources in floor care, the definitive method for achieving the cleanest floors is to always vacuum thoroughly before mopping. This sequence effectively removes dry debris, preventing it from turning into muddy residue during wet cleaning. Implement this scientifically backed approach in your next cleaning session to see a noticeable improvement in your home’s cleanliness and floor longevity.
❓ Frequently Asked Questions
Why is vacuuming before mopping considered the undisputed best practice?
Vacuuming first is crucial because it eliminates all loose debris, including dirt, dust, hair, and grit. These abrasive particles would otherwise create muddy streaks when wet-mopped, potentially scratching your floors and making your cleaning efforts less effective and more time-consuming.
What are the immediate negative consequences of mopping a floor before vacuuming it?
Mopping unvacuumed floors instantly turns loose dirt into muddy, unsightly streaks that spread across the surface. This contaminates your mop water and head almost immediately, pushes debris into grout lines, and ultimately leaves your floor looking dirtier than before, requiring more effort to re-clean.
Does the ‘vacuum first’ rule apply to all types of hard flooring?
Yes, this principle universally applies to virtually all hard floor types, including hardwood, laminate, tile, vinyl, and stone. The goal is always to remove loose, abrasive particles before introducing moisture, regardless of the floor material, to ensure a thorough and damage-free clean.
What specific tools or techniques should I use when vacuuming hard floors?
When vacuuming hard floors, use a vacuum cleaner equipped with a hard floor attachment or a setting that disengages the brush roll to prevent scratching. Move slowly and methodically to pick up all debris, especially in corners and along baseboards, ensuring no loose particles remain for the mopping stage.
How can I ensure my mopping is most effective once the floor is vacuumed?
After vacuuming, ensure your mop head is clean and use fresh, appropriate cleaning solution mixed according to manufacturer instructions. Mop in small sections, rinsing your mop frequently and changing the water as soon as it becomes visibly dirty to avoid spreading grime.
Is sweeping an acceptable alternative if I don’t have a vacuum cleaner?
While sweeping is better than mopping over loose debris, a vacuum cleaner with a hard floor attachment is significantly more effective at capturing fine dust and smaller particles. Sweeping can often push fine dust around, leaving some residue behind that a vacuum would otherwise pick up efficiently.