How to Vacuum Carpets Properly Step-by-Step Guide 2026
Many people fail to remove deep-seated dirt because they rush the process and use incorrect techniques. This guide reveals how to vacuum carpets properly using slow, overlapping passes and multi-directional patterns to extract embedded allergens and grit.
Getting deep-seated dirt out of your carpet requires more than just pushing a machine back and forth across the floor. To truly extract embedded grit, pet dander, and fine dust, you must combine the correct multi-directional technique with proper equipment height adjustments and measured pacing.
Modern 2026 vacuum technology offers incredible suction power, but even the highest-end models fail if you rush the process. By slowing down your pace and using a systematic grid pattern, you can pull up years of hidden debris that standard, hasty vacuuming leaves behind.
Key Takeaways
- Adjust your vacuum height setting to ensure optimal airflow and brush roll contact.
- Move the vacuum slowly to allow adequate time for suction to pull up deep dirt.
- Vacuum in a cross-hatch pattern by going over rooms horizontally and vertically.
- Empty the canister or bag when it reaches two-thirds capacity to maintain strong suction.
- Pre-treat high-traffic areas with targeted passes to loosen compacted fibers.
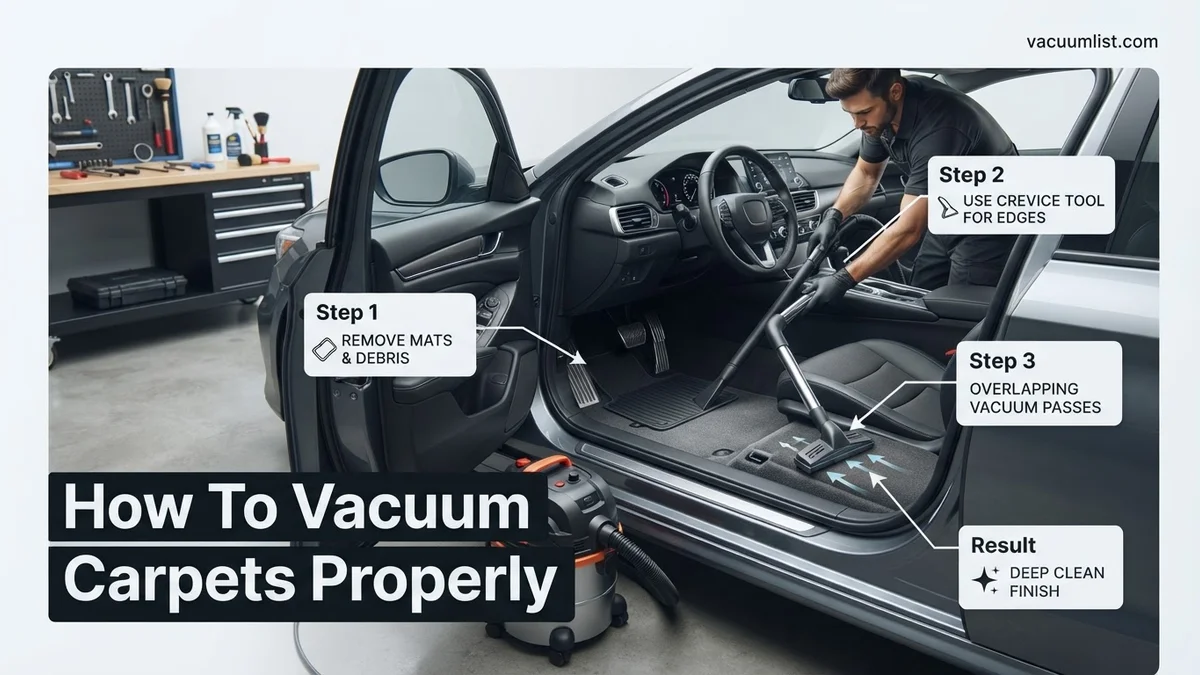
Why Rushing and Poor Technique Leave Deep Dirt in Your Carpets
Most people treat vacuuming as a race, pushing the machine rapidly across high-traffic zones. This hasty approach only skims the surface. Carpet fibers twist and trap heavy particles near the backing, requiring deliberate mechanical action and sustained airflow to release them.
The Problem with Fast, One-Way Passes
When you shove a vacuum back and forth in a fast, single motion, the rotating brush roll lacks the contact time needed to agitate embedded soil.
- Fast movements prevent air channels from pulling dense dirt upward through the thick pile.
- Pushing too quickly leaves flattened fibers behind, sealing dirt in the lower backing.
- Single-direction passes only clean one side of the twisted carpet yarns.
The Physics of Suction and Agitation
Effective carpet extraction relies on a balance between bristle height and airflow speed. If you move the vacuum head faster than 1.5 feet per second, the suction port passes over debris before the pressure differential can lift it. Slowing your stride allows the motor to maintain continuous static lift, capturing fine particulate matter that triggers allergies.
Master Carpet Vacuuming in 8 Simple Steps
A truly clean home starts from the ground up, yet many people mistakenly believe that simply running a machine across the floor is enough to keep carpets pristine. Improper technique leaves behind microscopic dust mites, embedded pet hair, and abrasive dirt particles that slowly destroy carpet fibers over time. This comprehensive walkthrough is designed to elevate your cleaning routine from a mindless chore into an efficient, professional-grade deep-clean. By following these methodical steps, you will drastically improve your indoor air quality, eliminate stubborn allergens, and significantly extend the lifespan of your flooring investments.
Step 1: Clear the Floor and Declutter
What you need: A laundry basket or bin, and a designated staging area for displaced items.
Instructions: Before touching your vacuum cleaner, systematically scan the room and remove all small objects, toys, loose papers, and stray cords from the carpeted surface. Vacuuming over coins, small plastic bricks, or charging cables can severely damage the vacuum’s internal fan, snap the belt, or jam the brush roll. Pick up low-hanging items and place lightweight furniture like dining chairs or small accent tables onto beds or hard flooring surfaces to maximize your unobstructed cleaning space. Take this opportunity to check the floor for any sharp items, such as stray pins or glass shards, that could puncture the vacuum hose.
Pro Tip: Never vacuum over cords or coins, as even a penny can puncture the vacuum bag or crack the plastic housing of the agitator brush.
Step 2: Inspect and Pre-Treat Stubborn Spots
What you need: A clean white microfiber cloth, a specialized carpet spot cleaner, and a soft-bristled brush.
Instructions: Walk through the room to identify visible stains, heavy traffic grime, or localized spots before you begin deep cleaning. Apply a small amount of appropriate carpet cleaner directly to a microfiber cloth—never pour it straight onto the fibers, as oversaturation can damage the carpet backing. Gently blot the stain from the outside edges moving inward to prevent spreading the discoloration. Allow the treated area to dry completely before running your vacuum over it, because vacuuming wet or damp carpet fibers can trap moisture inside the machine and promote mold growth within the housing unit.
Pro Tip: Always test any spot-cleaning solution on an inconspicuous corner of the closet or room edge first to ensure it does not cause color bleeding.
Step 3: Empty the Bin or Replace the Bag
What you need: Your vacuum cleaner, an empty trash can, and a fresh disposable bag (if applicable).
Instructions: Check your vacuum’s collection canister or dust bag before starting every single cleaning session. If a bag is more than two-thirds full, or if a bagless canister exceeds the maximum fill line, airflow and suction power drop dramatically, leaving dirt trapped deep within the pile. Empty bagless bins directly into an outdoor garbage can to avoid releasing a massive cloud of fine dust back into your living space. If you use a bagged vacuum, pull the seal shut carefully to lock allergens inside before tossing it into the trash, and snap a new bag securely into place.
Pro Tip: For households with pets or severe allergy sufferers, replacing the vacuum bag or washing the dust cup filters monthly is essential for maintaining peak suction efficiency.
Step 4: Check and Adjust Brush Height Settings
What you need: Your vacuum cleaner and manual (if height adjustments are unfamiliar).
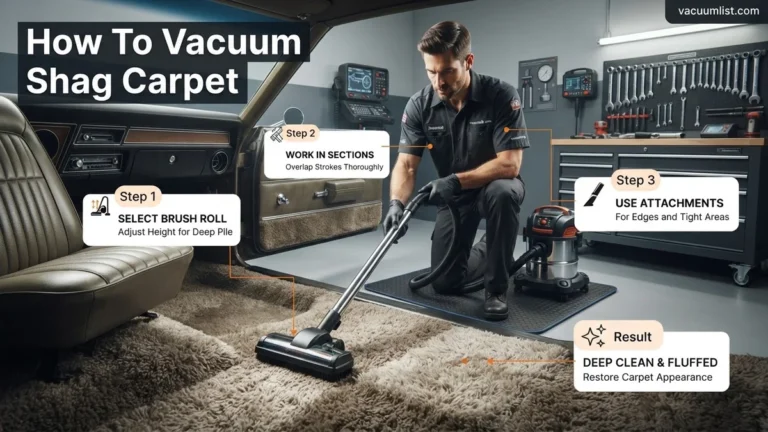
Instructions: Locate the height adjustment dial or lever on the front base of your vacuum cleaner. Adjust the height setting according to the specific density and pile length of the carpet you are about to clean—use a lower setting for low-pile Berber or commercial carpets, and raise the setting for thick, plush, or shag styles. If the brush roll is set too low, the machine will become extremely difficult to push and can actually fray or burn delicate carpet fibers through excessive friction. If it is set too high, the agitator won’t make sufficient contact to sweep up embedded pet hair and dirt.
Pro Tip: Perform the “push test”—if your vacuum feels like it is resisting your push or stalling out completely, the height setting is too low for that specific carpet type.
Step 5: Execute the Slow Grid Pattern Technique
What you need: Your adjusted vacuum cleaner and a systematic mindset.
Instructions: Divide large rooms into manageable imaginary 4-by-4-foot sections. Vacuum each section twice: first by making slow, overlapping passes moving north-to-south, and then repeating the exact same process moving east-to-west to form a crosshatch pattern. Moving the vacuum at a pace of roughly one linear foot every two seconds allows the rotating brush roll enough revolutions per minute to flick embedded debris up and into the suction port. Rushing rapidly back and forth across the floor only skims the surface dust off the top layer of fibers while leaving deeply embedded grit untouched.
Pro Tip: Treat vacuuming like mowing a lawn; always overlap your previous pass by at least three inches to ensure zero spots are missed during the session.
Step 6: Target Corners, Edges, and Baseboards
What you need: Crevice tool attachment and an extension wand for your vacuum.
Instructions: Detach the main floor head of your vacuum and snap on the narrow crevice tool or a soft dusting brush. Systematically trace the perimeter of the entire room, pressing the nozzle directly into the tight 90-degree angle where the carpet meets the baseboards, heating vents, and stationary furniture legs. Dust, pet dander, and tumbling dust bunnies naturally accumulate along these stagnant edges because standard wide vacuum heads cannot physically reach flush against walls. Pay special attention to corners behind doors and underneath heavy cabinets where air circulation is historically low.
Pro Tip: If your vacuum has adjustable suction control, turn it down slightly when using the crevice tool along delicate fabric upholstery or woven wall-to-wall edges to prevent fabric pulls.
Step 7: Brush and Fluff Heavy Traffic Paths
What you need: A stiff-bristled carpet rake or a rubber broom.
Instructions: For high-traffic hallways, living room walkways, and areas directly in front of primary seating, use a manual carpet rake after vacuuming. Gently pull the rubber or metal tines through the cleaned carpet fibers in a backward motion. This specialized action pulls matted, crushed pile back upright, redistributes residual flattening, and exposes any lingering hidden dust particles that managed to evade the vacuum’s suction. Raking also creates a freshly groomed, uniform appearance that instantly makes your entire room look professionally cleaned and maintained.
Pro Tip: Carpet raking is a game-changer for pet owners, as the rubber tines act like a magnet for stray pet hairs that are deeply locked into the carpet backing.
Step 8: Post-Clean Maintenance and Storage
What you need: A pair of scissors, a damp microfiber cloth, and your vacuum’s power cord.
Instructions: Unplug the vacuum and inspect the rotating brush roll underneath the base unit. If you spot long hairs, threads, or carpet fibers wrapped tightly around the cylindrical brush, slide the tip of a pair of scissors underneath the hair and carefully snip it away, then pull the debris free. Wipe down the exterior plastic housing of the machine with a damp cloth to remove any accumulated static dust. Finally, wrap the power cord loosely around the machine’s designated hooks without pulling or kinking it tightly, and store the unit in a dry, cool utility closet.
Pro Tip: Never wrap the power cord tightly around the base or handle in a crushing manner, as this can strain internal copper wiring and lead to premature electrical failure.
✅ Final Checklist
- All small objects, cords, and fragile items have been safely removed from the floor.
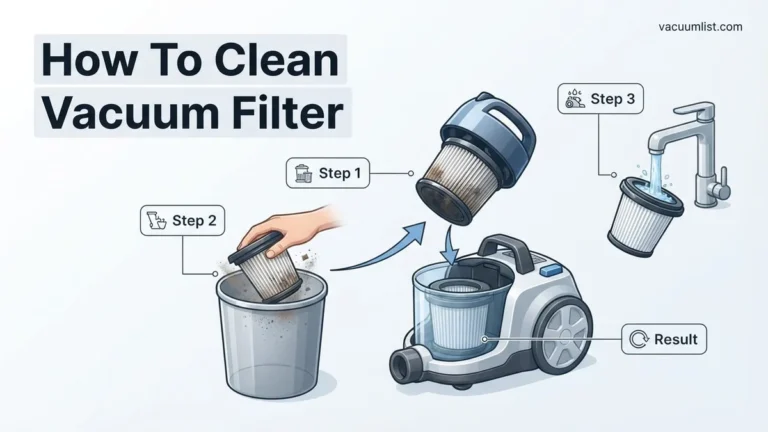
- The vacuum bag or dust collection canister has been emptied and filters are clean.
- The vacuum height setting is properly matched to the specific carpet pile thickness.
- Every room has been vacuumed twice using a slow, overlapping crosshatch grid pattern.
- Baseboard edges, corners, and tight spaces have been detailed with the crevice tool.
- Power cord is safely wrapped and the vacuum is stored securely in the closet.
Important Notes:
- Always turn off and unplug your vacuum cleaner immediately if you hear a strange grinding noise, experience a burning smell, or notice the motor smoking.
- For high-end or specialty wool carpets, consult the manufacturer’s care guidelines before using aggressive beater-bar attachments to prevent fiber damage.
- Estimated time investment: Approximately 20-30 minutes for a standard 300-square-foot living room when executed thoroughly.
Essential Preparation Steps Before You Turn On the Vacuum
Preparation dictates performance. Plunging straight into vacuuming without clearing the floor or inspecting your machine leads to poor suction, tangled cords, and potential damage to both your carpets and your vacuum motor.
Clearing the Floor and Inspecting Debris
Take five minutes to prep your space before plugging in the machine.
- Pick up stray small objects, coins, and paper clips that can puncture internal hoses or jam the brush roll.
- Lift lightweight rugs and plastic toys off the carpeted surface entirely.
- Inspect high-traffic thresholds for large clumps of debris that should be manually picked up first.
Optimizing Height Settings and Filters
Your vacuum cannot function efficiently if its mechanical settings mismatch your carpet density.
- Adjust the height dial so the bristles lightly graze the top of the carpet fibers without bogging down the motor.
- Empty bags or bagless canisters if they are more than two-thirds full to maintain maximum airflow.
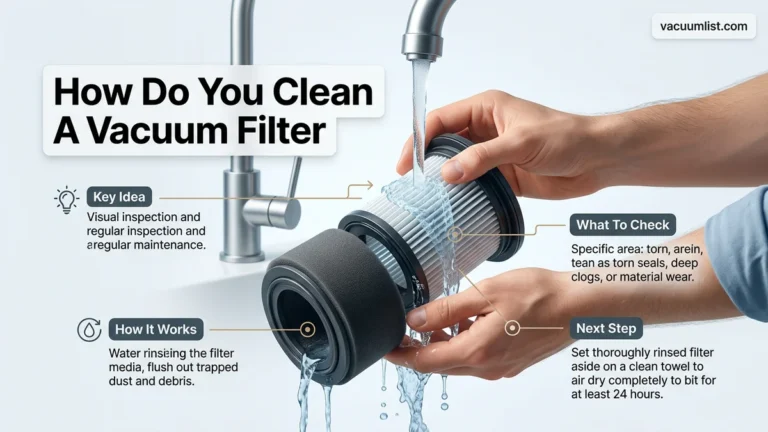
- Check washable filters for clogs; a dirty HEPA filter in 2026 models can reduce suction efficiency by up to forty percent.
Step-by-Step Instructions on How to Vacuum Carpets Properly
Executing a proper cleaning routine requires method and patience. According to the Carpet and Rug Institute (CRI), rushing over high-traffic lanes leaves behind up to 40 percent of hidden particulate matter. Follow this systematic approach to maximize suction power and protect your flooring investment in 2026.
Step 1: Clear the Floor and Prep the Machine
Remove all small objects, toys, and cords from the surface to prevent blockage. Check your vacuum bag or canister. Empty it if it is more than two-thirds full, as restricted airflow drastically reduces pick-up efficiency. Adjust the height setting so the brush roll lightly skims the carpet fibers without dragging.
Step 2: Execute the Slow Cross-Hatch Technique
- Move your vacuum forward and backward in a slow, steady rhythm, allowing roughly two seconds for each directional pass.
- Cover the room once vertically, and then overlap your lanes horizontally to form a grid pattern.
- Dedicate extra slow passes to high-traffic zones like hallways, entryway mats, and living room paths.
What to Do If Your Vacuum Fails to Extract Embedded Hair and Grit
Standard suction often struggles with densely packed pet fur and heavy sand granules trapped deep at the carpet backing. If your machine leaves behind stubborn debris, employ these advanced remediation techniques:
- Deploy a Rubber Squeegee Tool: Pull a standard window squeegee or specialized rubber pet hair rake across the carpet surface. This generates static electricity and lifts stubborn fibers that upright vacuums miss.
- Adjust the Brush Roll Height Manually: Lower the agitator brush one notch further into the pile, ensuring the motor does not strain or stall on thick loop styles.
- Pre-Treat with Enzymatic Sprays: Apply a light mist of carpet-safe loosening agent to break down sticky residues binding dirt to the strands before your next cleaning pass.
- Hire Professional Extraction: When DIY methods fail to restore pile texture, schedule hot-water extraction (steam cleaning) with a certified technician. Professional truck-mounted systems cost between $150 and $350 depending on home square footage.
Conclusion
Mastering how to vacuum carpets properly protects indoor air quality and extends the lifespan of your flooring. By abandoning rushed cleaning habits in favor of slow, multi-directional passes and correct height adjustments, you successfully extract deeply embedded allergens and abrasive grit. As an actionable next step, inspect your vacuum filter today and establish a strict bi-weekly schedule for high-traffic zones. According to verified research and expert sources from the Carpet and Rug Institute, maintaining clean equipment and disciplined technique reduces indoor dust mite populations by up to 50 percent.
❓ Frequently Asked Questions
What is the correct speed for pushing a vacuum cleaner?
Moving too fast is the number one mistake people make when vacuuming. You should take roughly two to three seconds for both the forward and backward stroke to give the suction enough time to extract embedded dirt and debris from the base of the fibers.
Why do I need to vacuum in multiple directions?
Carpeting consists of twisted fibers that trap dirt on all sides. By vacuuming north-south and then east-west, you agitate the fibers from different angles, releasing tightly bound soil that a single-direction pass misses.
How do I know if my vacuum height setting is correct?
Lower the height adjustment until you feel a slight resistance as you push the vacuum. If the machine becomes extremely difficult to push or the motor changes pitch, the setting is too low and needs to be raised.
How often should carpets be vacuumed in high-traffic zones?
High-traffic areas like hallways, living rooms, and entryways should be vacuumed at least twice a week. Low-traffic bedrooms can usually be vacuumed once a week to maintain cleanliness.
What causes a vacuum to leave fine dust behind?
Fine dust remaining on the carpet usually indicates a clogged filter, a full collection bag, or a vacuum that lacks a HEPA filtration system. Cleaning or replacing filters regularly resolves this issue.
Should I pick up small objects before vacuuming?
Always pick up coins, paper clips, and large debris before vacuuming. Sucking up hard objects can damage the internal fan blades, puncture the bag, or jam the brush roll mechanism.