How Long Do Robot Vacuums Last in 2026? Expert Guide
Most robot vacuums last between 2 to 6 years, heavily depending on build quality, usage frequency, and proper maintenance. Premium models typically offer longer lifespans and replaceable components compared to budget alternatives.
A standard robot vacuum lasts between four to six years with regular use, translating to roughly 1,000 to 1,500 hours of cleaning time. Premium models from top-tier brands often push past the six-year mark, while budget devices frequently plateau around two to three years due to lower-quality internal components.
Investing in autonomous cleaning hardware is a significant financial commitment for your household. Knowing the expected lifespan helps you calculate the true long-term value, budget for eventual replacements, and identify when routine maintenance is no longer enough to save a failing machine.
Key Takeaways
- Expect a standard lifespan of 2 to 6 years for most robot vacuums.
- Lithium-ion batteries usually degrade and require replacement after 2 to 3 years.
- Budget models generally last 1 to 3 years, while premium brands reach 5+ years.
- Regular cleaning of brushes, sensors, and filters prevents premature motor burnout.
- Upgrading parts like batteries and side brushes significantly extends overall appliance longevity.
What Causes Robot Vacuums to Wear Out and Fail
Battery Degradation and Motor Wear
The lithium-ion battery inside your robot vacuum is usually the first major component to fail. Just like your smartphone, these batteries lose maximum capacity over time through repeated charge cycles. By year four, you will likely notice your vacuum returning to its dock far more frequently.
Suction motors also experience heavy mechanical wear, especially if you run your machine on maximum power settings daily. Continuous exposure to friction and heat gradually degrades the copper windings inside the motor.
Sensor Obstruction and Wheel Mechanical Damage
Navigation failures often spell the end for older robot vacuums. Cliff sensors, LiDAR turrets, and bump sensors accumulate micro-dust and pet dander that eventually cause navigation errors. Additionally, the drive wheels take a massive beating over the years:
- Hair and carpet fibers wrap tightly around wheel axles, burning out drive motors.
- Rubber treads wear down completely, causing the robot to slip on hardwood floors or fail to mount high-pile rugs.
- Impact damage from running into heavy furniture cracks external plastic housings and shifts internal optical alignment.
Step-by-Step Maintenance Routine to Fix and Extend Lifespan
Weekly Component Cleaning and Debris Removal
Establishing a strict cleaning routine is the single best way to maximize your hardware investment in 2026. Skipping basic upkeep forces internal motors to work twice as hard, accelerating burnout.
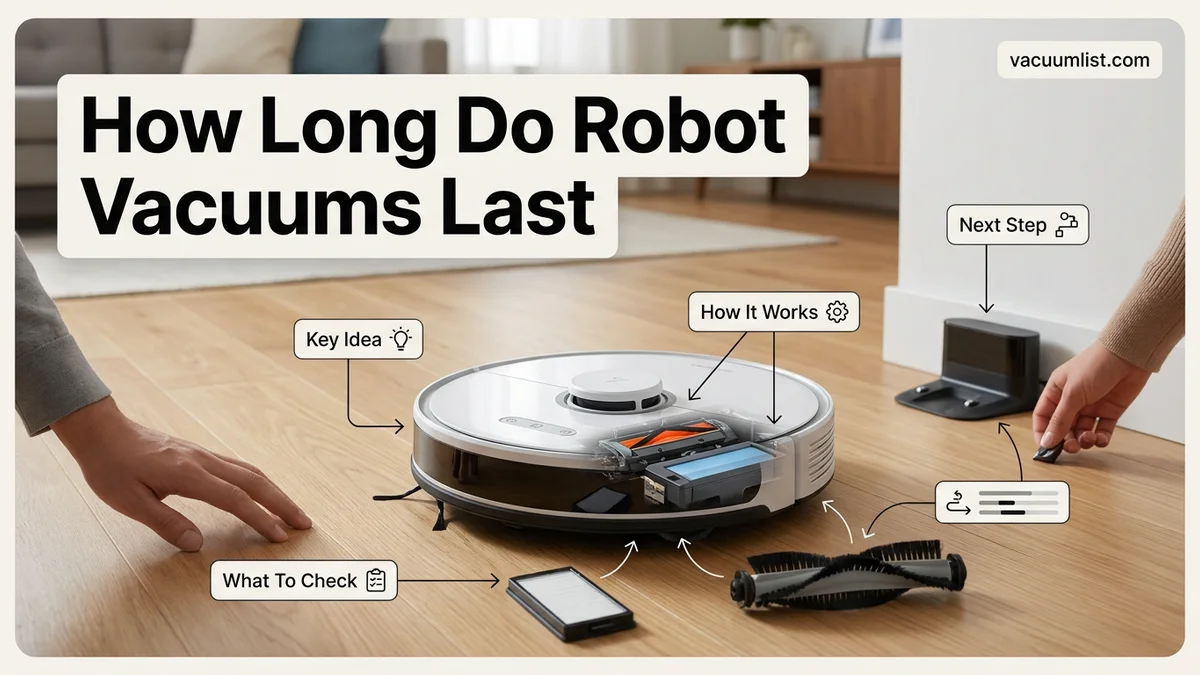
- Power down the unit and flip it over to access the main brush roll and side brushes.
- Use a specialized de-tangling tool or seam ripper to slice through hair wrapped around the bearings.
- Wipe down all cliff and wall sensors using a dry microfiber cloth to ensure accurate navigation.
- Empty the dustbin and tap out the high-efficiency filter to prevent airflow restriction.
Monthly Deep Maintenance and Battery Preservation
Beyond weekly surface cleaning, you need to perform monthly deep care checks to protect critical mechanical parts. Inspect the rubber wheel treads for wear and tear, and use compressed air to clear out dust trapped around the LiDAR laser housing.
To preserve battery health over the long haul, avoid letting the battery drop to zero percent consistently. If you plan to store your robot vacuum away for more than a few weeks, power it down completely at a 50 percent charge level to prevent deep discharge degradation.
How to Diagnose and Replace a Degraded Robot Vacuum Battery
Lithium-ion power cells inevitably degrade over time, typically showing severe capacity loss after three to five years of daily charge cycles. Industry data from leading manufacturers indicates that a battery failing to hold a charge for more than 20 minutes is the primary reason users discard otherwise functional hardware. Replacing this component can restore factory-level runtime for a fraction of the cost of a brand-new appliance.
Step-by-Step Battery Replacement Procedure
Consumers can successfully execute a battery swap at home by following precise technical steps. Ensure the device is powered off and removed from its charging dock before beginning any internal work.
- Flip the machine upside down on a soft, flat surface to prevent scratching the LiDAR turret or housing sensors.
- Locate the rectangular battery compartment door, which is typically secured by two to four small Phillips-head screws.
- Unscrew the panel carefully and lift it away to expose the battery pack and its multi-pin wiring harness connector.
- Pinch the plastic release clip on the wiring plug and gently pull straight back to disconnect the old battery from the motherboard.
- Insert the OEM or certified replacement battery plug until it clicks securely into place, then screw the compartment door back down.
What If It Still Doesn’t Work and When to Replace the Unit
When a battery swap or deep-clean routine fails to revive a malfunctioning robotic cleaner, systemic hardware failures are usually to blame. Users should evaluate specific troubleshooting pathways before sending the appliance to a landfill.
If the device continues to throw error codes or refuse a charge, try these final remediation steps:
- Perform a hard factory reset through the companion mobile application or by holding the physical power button for 15 seconds.
- Inspect the internal charging leads and motherboard fuses for corrosion or blown circuits caused by moisture exposure.
- Contact authorized manufacturer support to check if the core motherboard or wheel motor assembly falls under an active warranty window.
- Evaluate repair costs; if professional service quotes exceed 50 percent of the cost of a current 2026 model, replacement is the financially sensible choice.
Professional diagnostic and out-of-warranty labor fees typically range from $75 to $150, excluding replacement parts.
Conclusion
Maximizing the operational lifespan of your automated floor cleaner requires proactive filter maintenance, scheduled brush replacements, and timely battery swaps. According to verified research and consumer electronics experts, maintaining these basic upkeep routines can easily push hardware longevity toward the upper limit of seven years. Take action today by inspecting your device’s current battery health metrics inside your companion app to determine if a replacement power cell is due.
❓ Frequently Asked Questions
How long do budget robot vacuums last compared to high-end models?
Budget robot vacuums typically last 1 to 3 years due to cheaper motors and less durable plastics. High-end models from established brands often last 4 to 6 years or longer because they feature robust construction and modular repair options.
How often should I replace the battery in my robot vacuum?
Most lithium-ion batteries last between 2 to 3 years before losing significant charge capacity. You will know it is time for a new battery when the robot vacuum’s cleaning run time drops sharply or it fails to return to its dock.
Does running a robot vacuum every day shorten its lifespan?
Running your robot vacuum daily increases mechanical wear on wheels, brushes, and the battery. However, daily cleaning combined with proper routine maintenance rarely causes premature failure compared to running it dirty.
What are the most common parts that break on a robot vacuum?
The battery, side brushes, main brush roll, and drive wheels wear out most frequently due to friction and hair wrap. Navigation lasers and cliff sensors can also fail if dust accumulates on them over time.
How can I tell if my robot vacuum’s motor is failing?
If your robot vacuum emits a high-pitched whining sound, loses suction power entirely despite a clean filter, or frequently shuts down with motor error codes, the vacuum motor is likely failing.
Is it worth paying for professional repairs on an out-of-warranty robot vacuum?
Professional repairs are rarely cost-effective for out-of-warranty robot vacuums unless the issue is a simple battery or brush replacement you can perform yourself. Labor fees and diagnostic costs often approach the price of a brand-new entry-level unit.